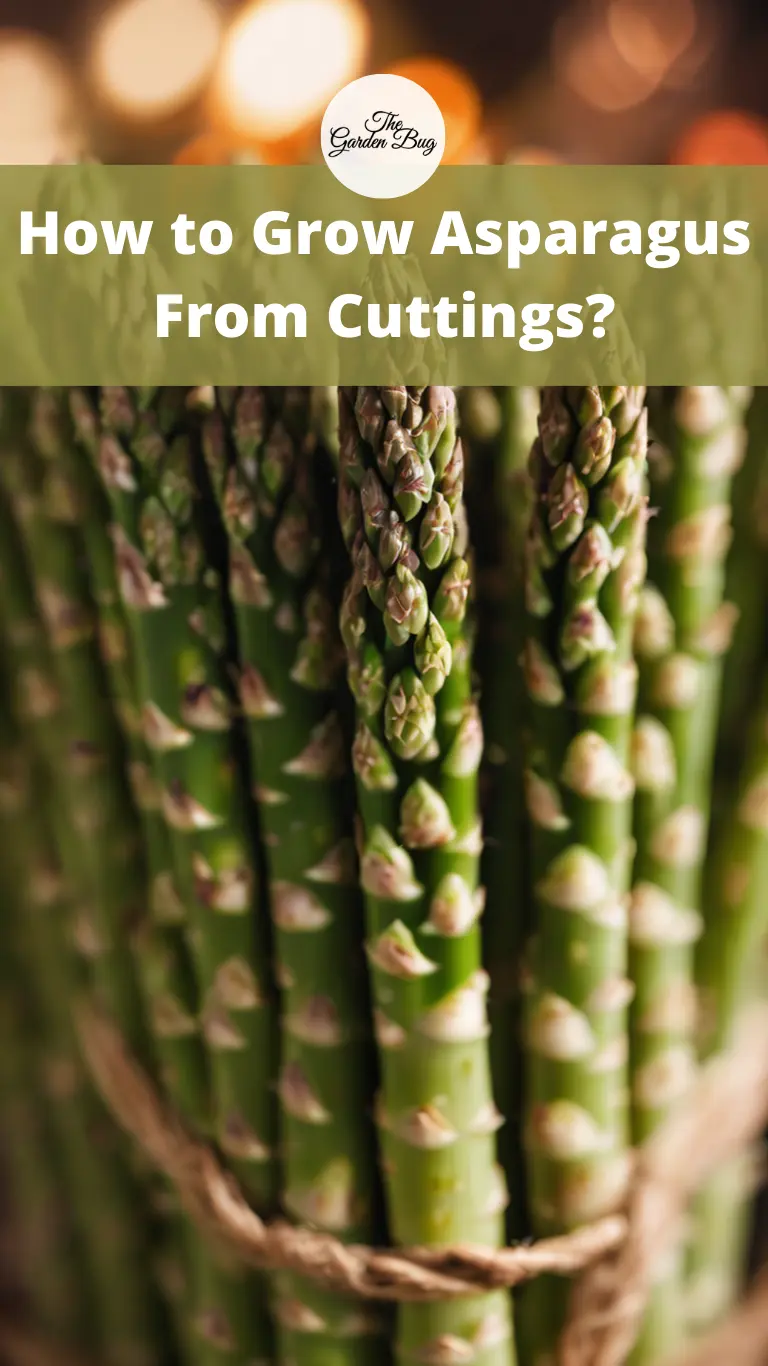
Asparagus – the elegant, vibrant veggie that graces our dinner plates with its crisp, fresh flavor. It’s not just tasty but also packed with nutrients, making it a favorite among health-conscious foodies and gourmet chefs alike. But have you ever considered growing your own asparagus from cuttings? Imagine harvesting this crunchy, delicious veggie right from your backyard. Exciting, isn’t it? Well, it’s entirely possible, and we’re here to guide you on this green-thumb journey. So, strap in and let’s delve into the world of asparagus propagation!
Understanding Asparagus Propagation
Asparagus, scientifically known as Asparagus officinalis, is typically grown from crowns – a sort of nursery-grown root system. But that’s not the only way! Propagation from cuttings is another method favored by some gardeners, offering its own unique set of benefits.
To simplify, propagation is the process of growing a new plant from a section of an existing one. With asparagus, this involves using ‘cuttings’ or sections of the stem. What’s fantastic about this method is that the new plants will share the same genetic makeup as the parent plant. So, if you have a particular asparagus plant you’re fond of, propagation from cuttings can replicate its characteristics in the new plants.
Growing asparagus from cuttings might seem a bit tricky at first, but with patience, care, and some practice, it can be a rewarding gardening endeavor. So, ready to gather your asparagus cuttings and give this a go? Let’s jump into the how-to!
Gathering Asparagus Cuttings
Choosing the right cuttings is the first step towards successful propagation. To do this, you’ll need a mature asparagus plant, preferably one that’s at least two years old and healthy. Here’s a simple way to gather cuttings:
- Find the Right Stems: Look for stems that are healthy, strong, and about pencil-thickness. These are your prime candidates for cuttings.
- Cutting: Using a clean, sharp gardening knife, make a cut about 8-10 inches from the top of the stem. Make sure the cutting has at least 2-3 ‘nodes’ or bumps – these are where the new roots will emerge.
- Timing: The best time to take cuttings is in late spring or early summer when the plant is growing vigorously.
Preparing the Cuttings and Planting Area
Once you’ve got your cuttings, here’s how to get them – and your planting area – ready:
- Prep Your Cuttings: Trim off any leaves or branches from the bottom half of the cutting. Then, dip the cut end in a rooting hormone. This step isn’t mandatory, but it can enhance root growth.
- Prep Your Planting Area: Asparagus loves well-draining soil and full sun. So, choose a sunny spot in your garden and prepare it by removing weeds and loosening the soil with a garden fork. If your soil is heavy clay or sandy, amend it with compost to improve its texture and nutrient content.
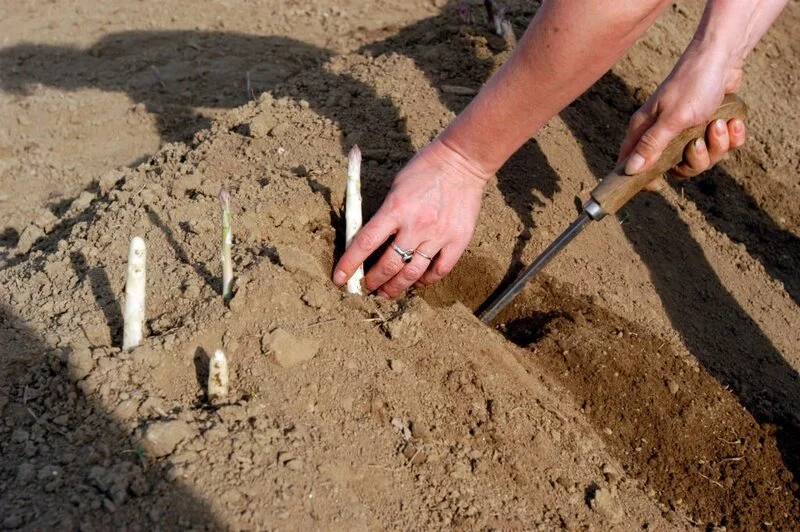
- Planting Holes: Make planting holes that are about 8 inches deep and wide enough to accommodate the cuttings without crowding them.
Planting Asparagus Cuttings: A Step-by-Step Guide
Now that your cuttings and garden are ready, it’s planting time! Here’s a simple, step-by-step guide to get your asparagus cuttings into the ground:
- Plant the Cuttings: Place a cutting in each hole, ensuring the end with the rooting hormone is the one going into the ground.
- Cover with Soil: Gently backfill the hole with soil, taking care not to damage the cutting. Make sure you cover all the nodes on the cutting.
- Water: Give the newly planted cuttings a generous drink of water. This helps settle the soil around the cuttings.
- Repeat: Continue this process for all your cuttings, making sure they have enough space to grow without crowding each other.
Caring for Your New Asparagus Plants
Once your cuttings are safely tucked into the soil, they’ll need some TLC to flourish:
- Watering: Asparagus loves moisture. Keep the soil consistently damp but not waterlogged. This might mean watering little and often, especially in hot, dry weather.
- Mulching: A layer of organic mulch around your plants will help conserve moisture, suppress weeds, and add nutrients to the soil as it breaks down.
- Feeding: Boost your asparagus plants’ growth with a balanced, slow-release fertilizer applied according to the package instructions.
- Patience: Asparagus isn’t a fast grower. It might take a few seasons before you see any spears ready for harvesting. But trust us, the wait will be worth it!
Remember, the key to successful propagation is patience and observation. Keep an eye on your new plants, watch for any signs of stress or disease, and adjust your care as needed. Before you know it, you’ll be reaping the rewards of your hard work with fresh, homegrown asparagus!
Troubleshooting Common Problems
Even the most seasoned gardeners face challenges when propagating asparagus. Here are a few common problems and their solutions:
- No Growth: If your cuttings aren’t showing signs of life after a few weeks, they may not have rooted properly. It might be worth trying again with new cuttings and checking that your soil, watering, and sunlight conditions are optimal.
- Yellowing or Wilting: This could indicate overwatering or poor drainage. Check your soil and consider cutting back on watering.
- Pests: Asparagus beetles are a common pest. Keep a close eye on your plants and if you see these bugs, pick them off manually or use a natural insecticide.
Harvesting and Using Asparagus
After 2-3 years, your patience will pay off, and it’ll be time to harvest your asparagus!
- When to Harvest: The best time is in the spring when the shoots are about 8 inches tall and still firm.
- How to Harvest: Using a sharp knife, cut the spears at or just below ground level.
- Using Asparagus: Freshly harvested asparagus is delicious steamed, grilled, or roasted. It’s a versatile veggie that can be used in a range of dishes, from stir-fries to salads.
Conclusion
There you have it – a complete guide to growing asparagus from cuttings. It might take a bit of patience and practice, but the satisfaction of harvesting your own homegrown asparagus will make it all worthwhile. So why not give it a go? With a bit of care and attention, you’ll be adding your very own asparagus to your meals before you know it!